
Outdoor Whimsy!
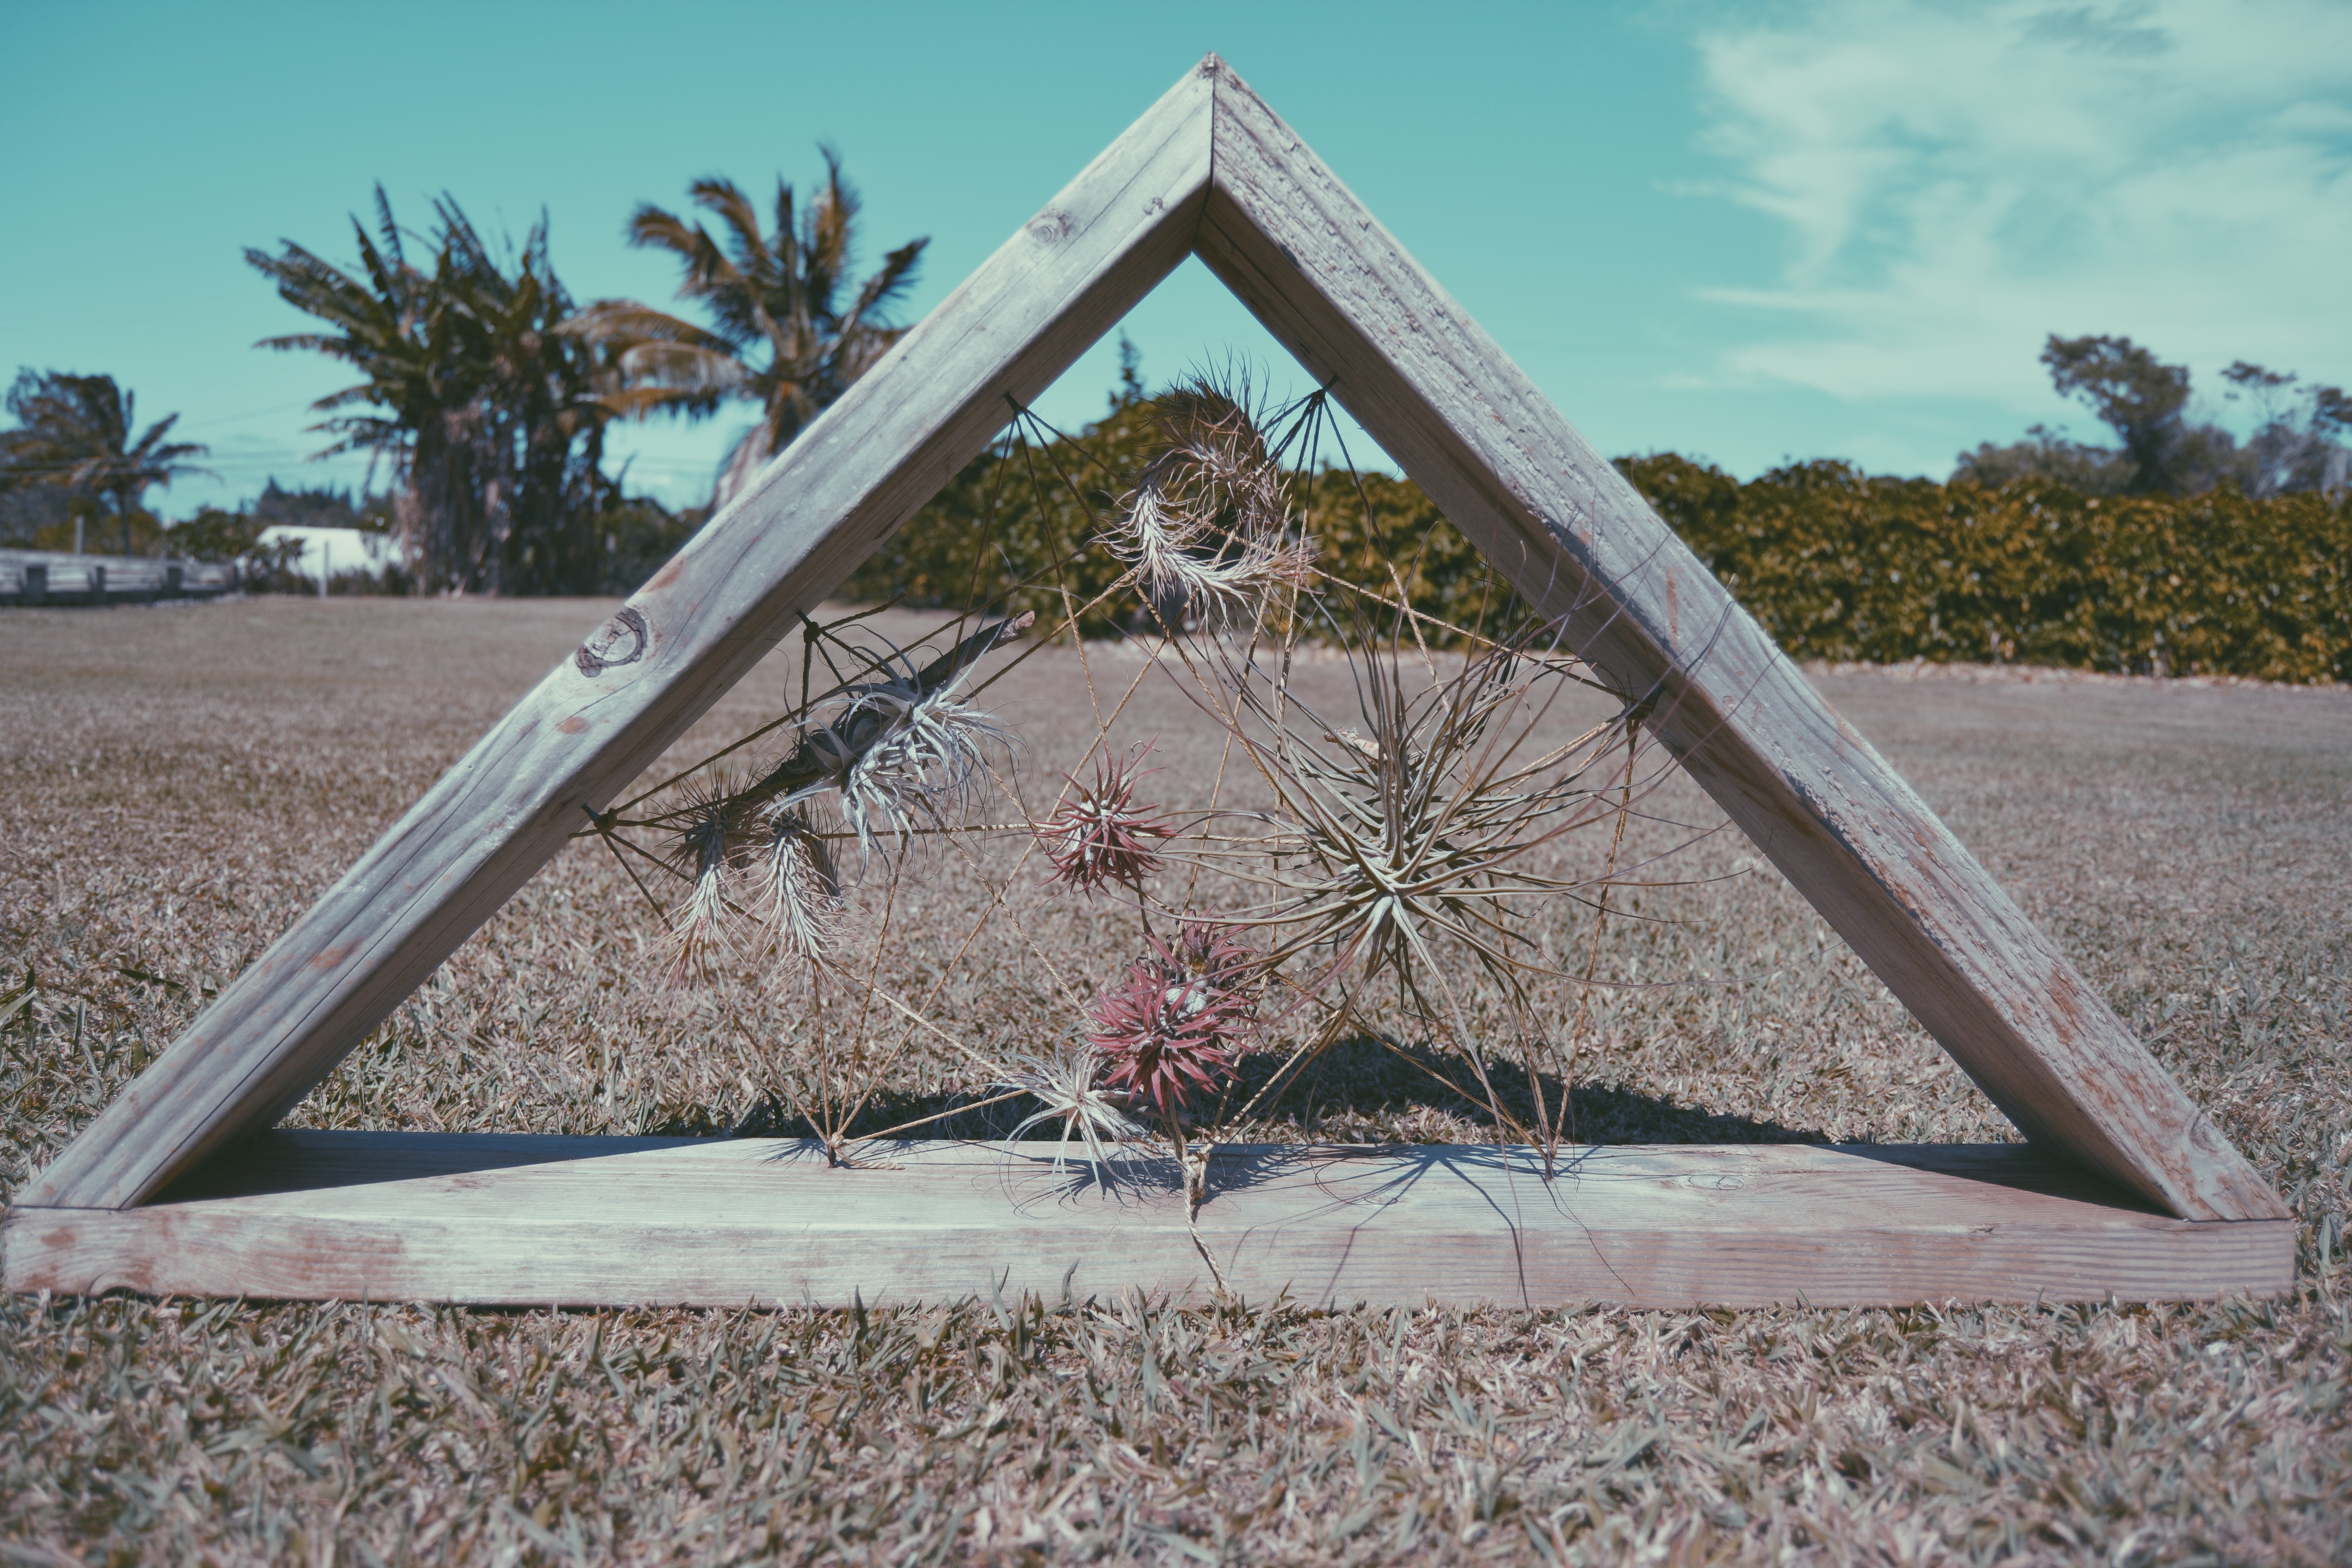
Air Plant Dream Catcher
I got married a little over a year ago and while planning my wedding I just had to come up with a few do it yourself projects. I was in love with giant dream catchers and air plants at the time; however, all of the giant dream catchers I found were a little too expensive. So, I figured there must be something I can do that will fit within my budget.
These dream catchers, aren’t only great for events, but have made a great addition to our garden and outdoor space.

You can cut your pieces of wood to any size that you you like.
Please note that if you decide to make a very large dream catcher it may not stand up on its own. Be mindful of the fact that the larger the dream catcher gets the wider the base needs to be.
You can basically create any geometric shape you wish. Keep in mind that if any shape other than a rectangle or square you may have to create angled cuts, so just make sure you have the appropriate tools to do so.
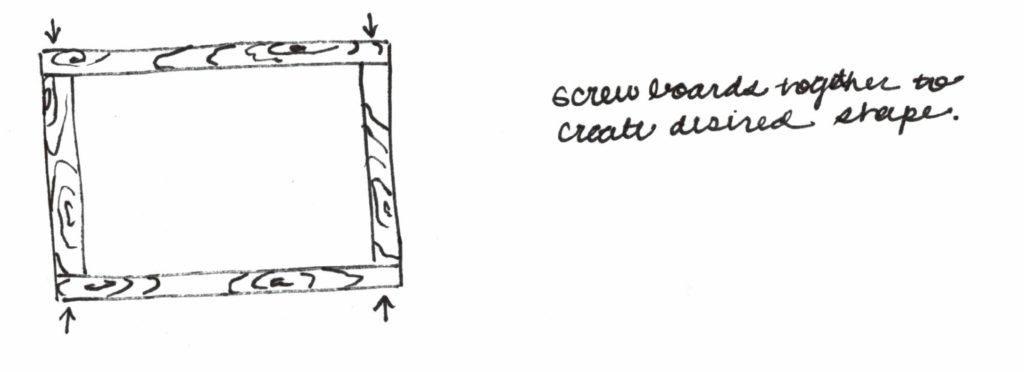
Take your pieces of wood and create your exterior form. To create the rectangular exterior form screw together each piece till you create a hallow rectangle.
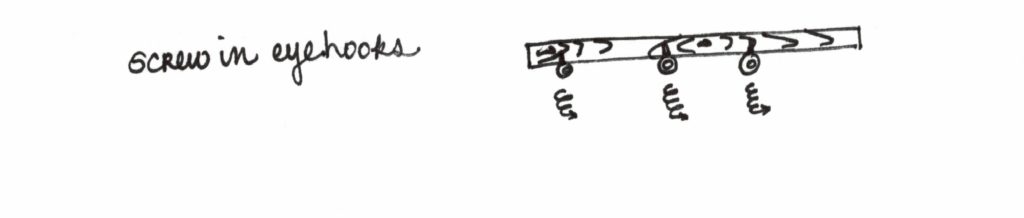
Once you have your empty wooden structure you now need to take your eye hooks and place them sporadically around your wooden frame. I was able to hand screw the eye hooks into the wood. As it gets tighter and harder to turn, you can always use needle nose pliers to help get better traction.
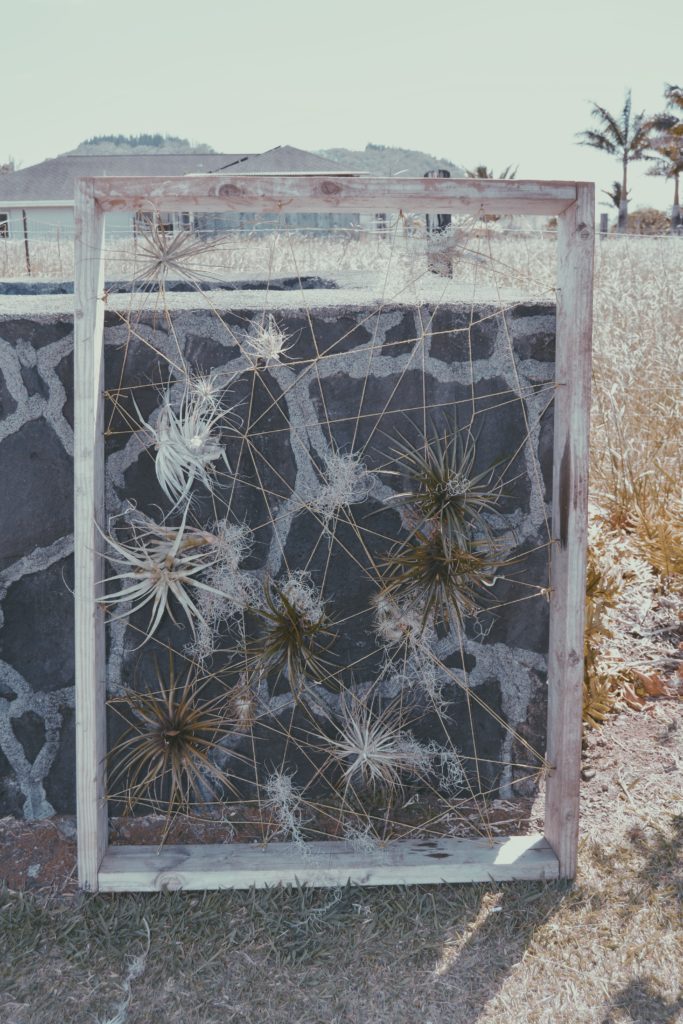
Once you have all your eye hooks in place take your twine and tightly tie it on to one of your eye hooks. Take the twine and string it through an eye hook on one of the other sides of your wooden frame. Continue doing so all around the wooden fame, till you have the dream catcher look that you want. The more string you have running across the frame, the easier it will be for you to hang your air plants. Try to keep the twine as tight as you can. It may be easier for you to tie the twine only from one eye hook to another rather then stringing your twine through multiple hooks before tying it off.


Once you have all your twine in place, it is time to place your air plants on your dream catcher. Try to find three-way intersections of twine and place the air plants there. This is the easiest place to stick an air plant so it won’t fall out when you stand up your dream catcher.
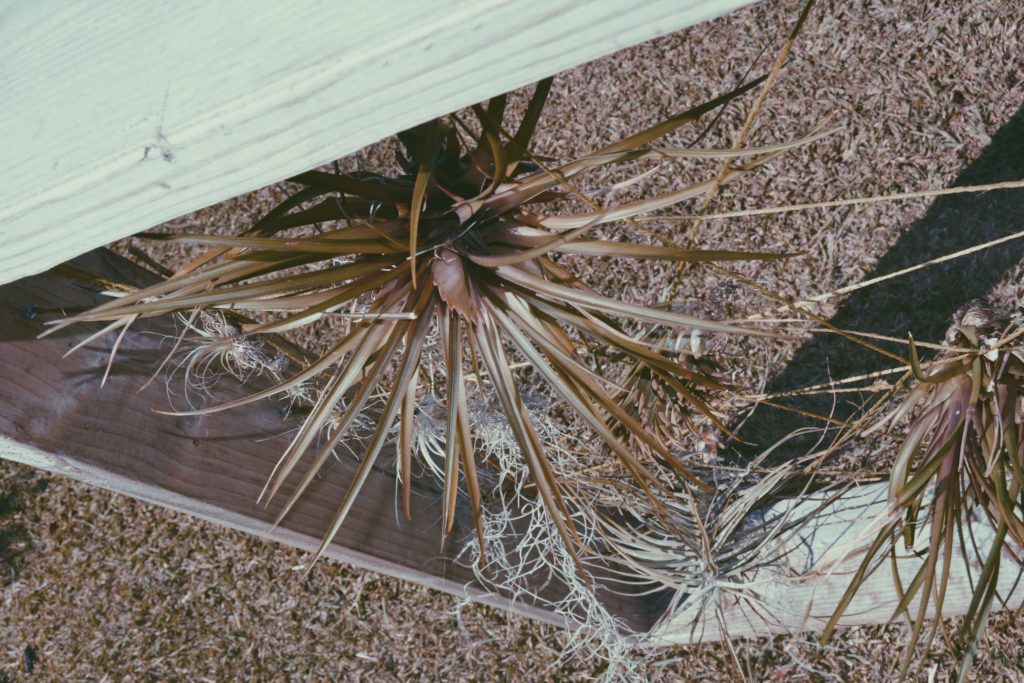
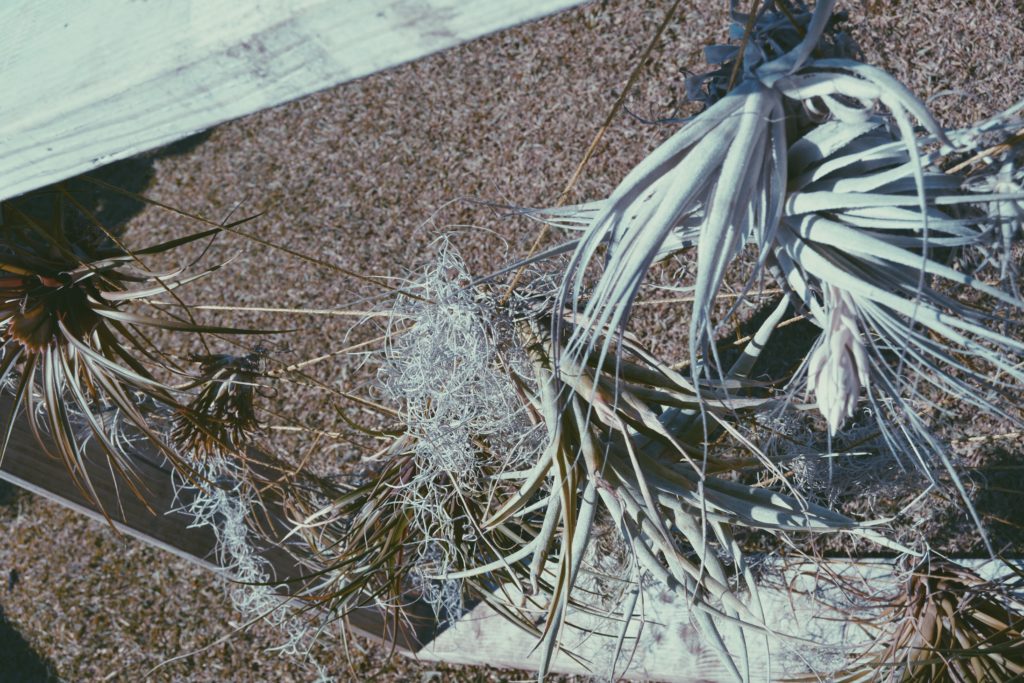
I hope you enjoy these as much as I enjoy them. They were a great addition to our space for our wedding and I love looking at them in the garden. Air plants require daily watering and sun. These dream catchers work very well because they allow for adequate air flow for the plants to grow.