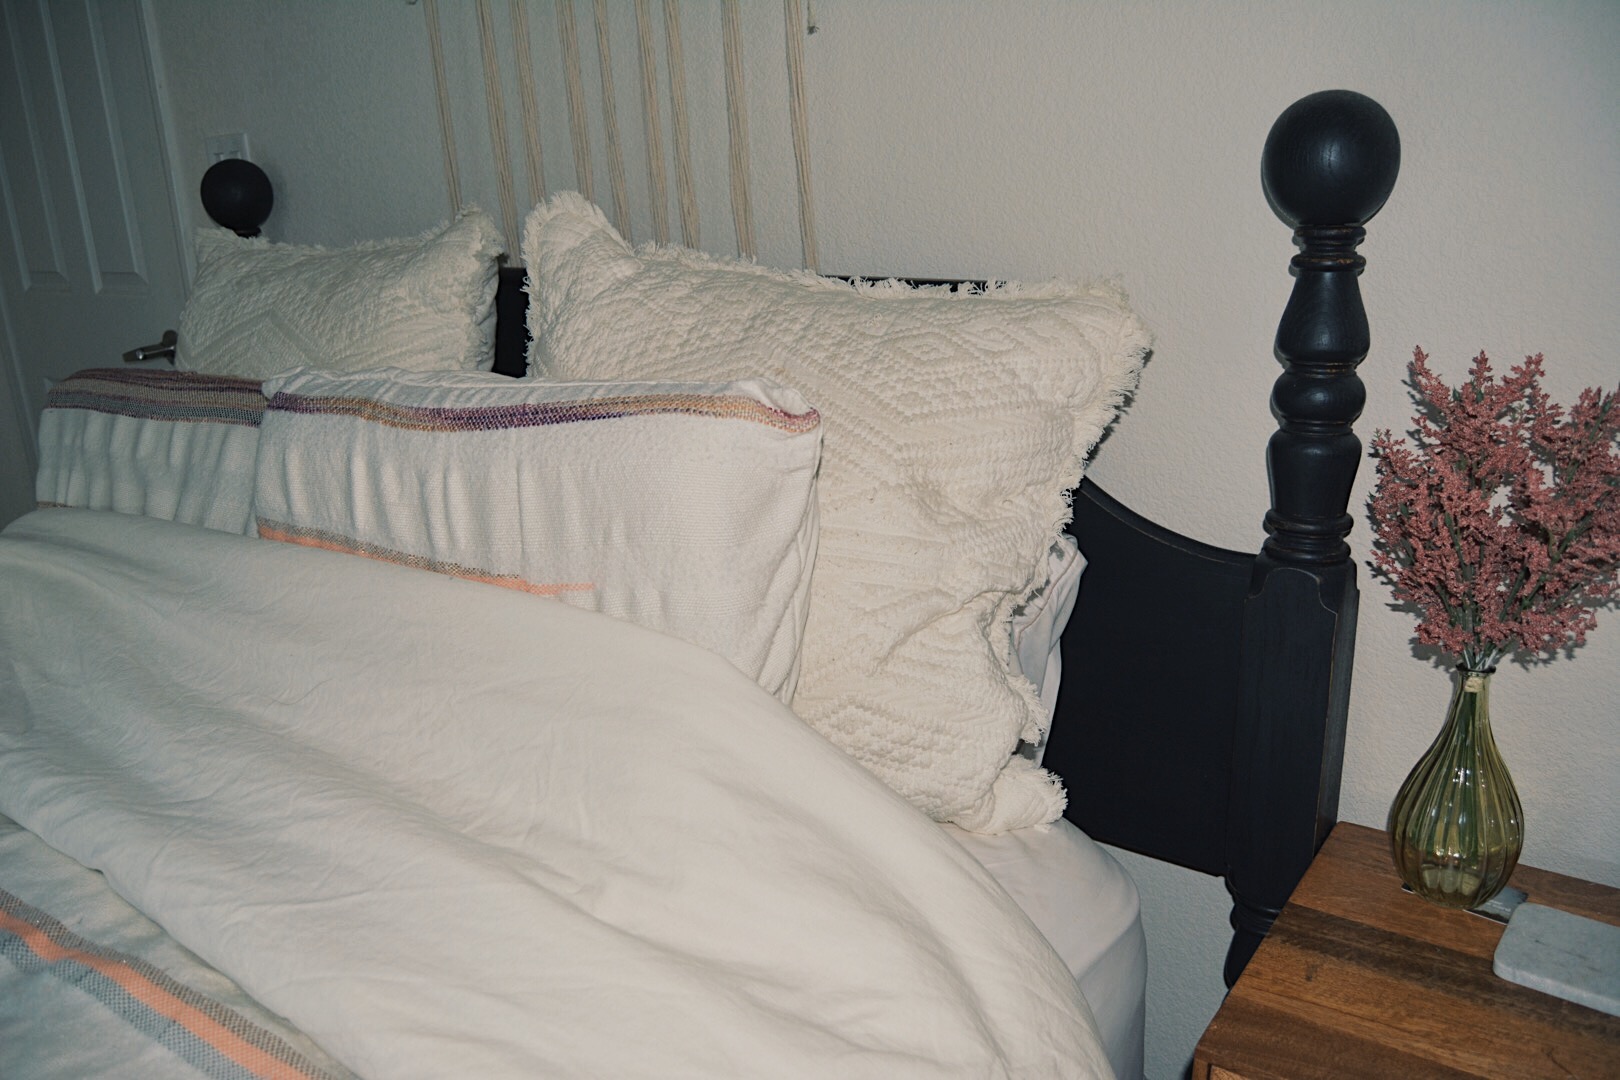
Furniture Revamp: Antique Black DIY
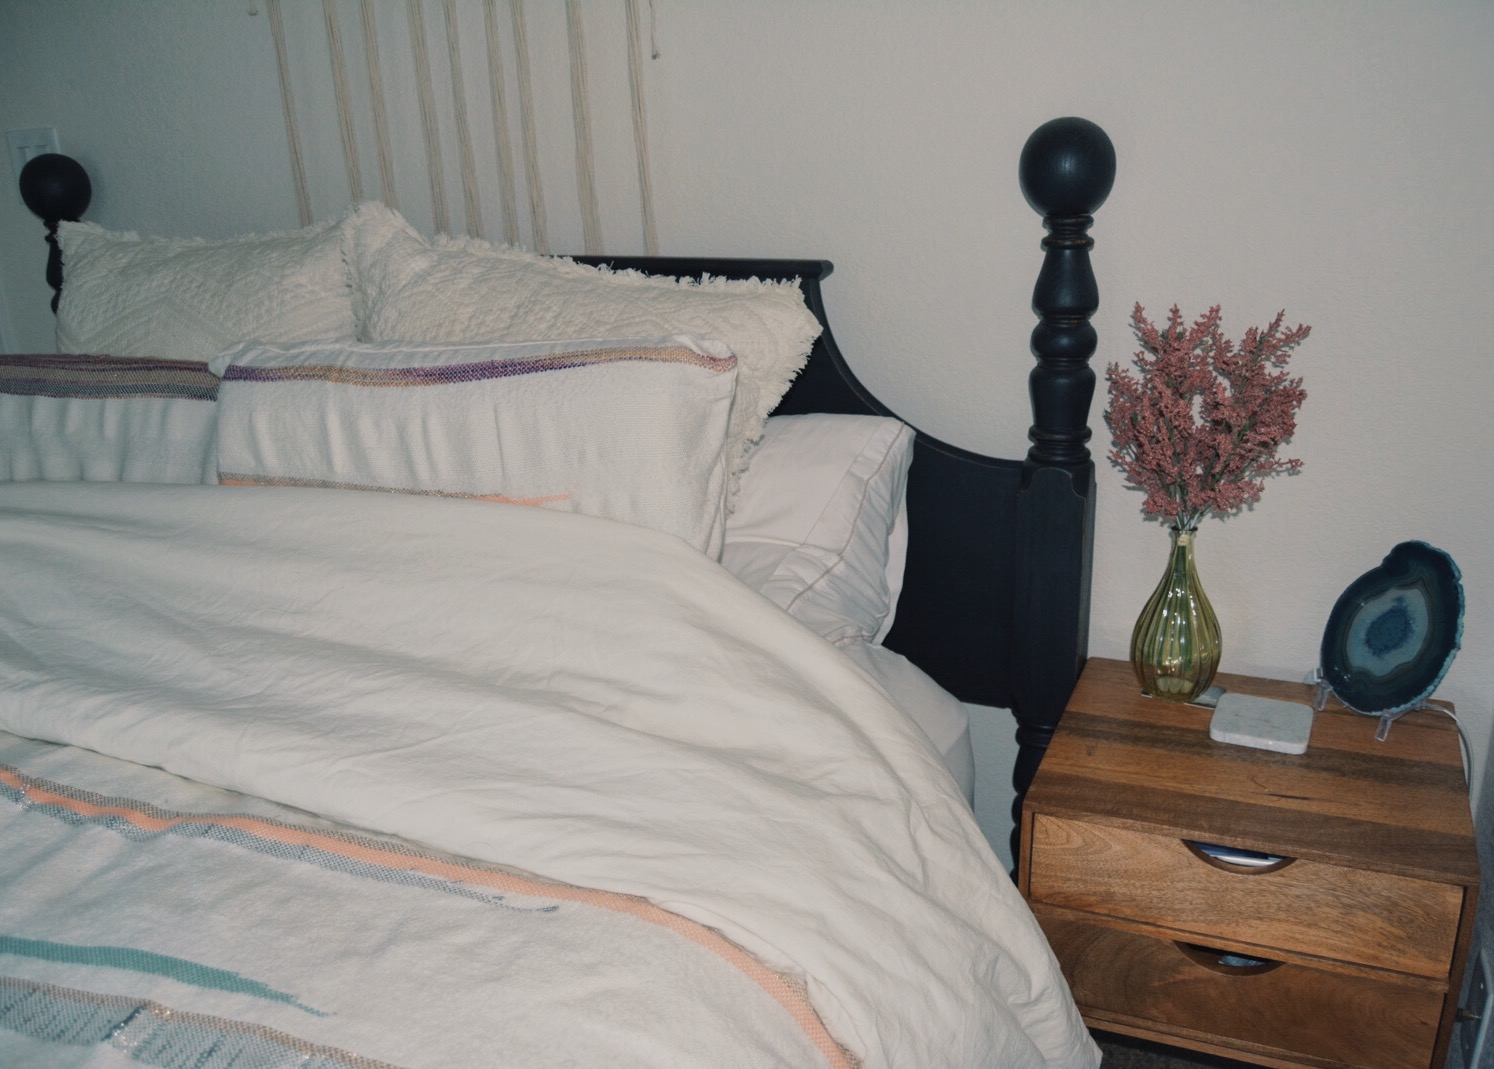
I found a great head board via craigslist that would fit perfectly in our room. The only issue, was that it was a little dated and needed a face lift. I of course got a little Pinterest crazy and have been really into the farm house look lately and came across a few inspiration photos.


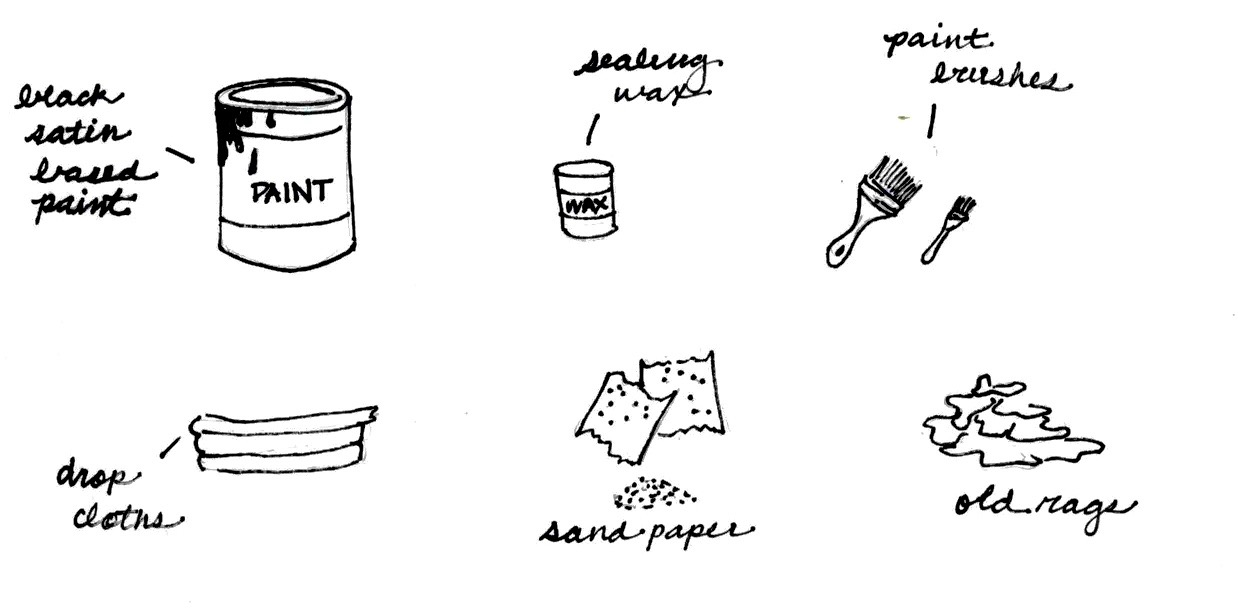
Therefore, I decided to go with a black antiqued finish. You will need, black paint in a satin finish, paint brushes, drop cloth, fine & rough grain sandpaper, furniture finishing wax and old rags.
Sand down your head board or piece of furniture. Once you have sanded down the whole piece, make sure you wipe it well with a wet rag. *I forgot to take before photos, but the original headboard had a medium brown stain with a gloss finish.*
Paint your piece with the black satin finish paint. I utilized Valspar furniture paint in Dark Kettle Black. Let the first coat dry and continue with a second coat of paint.
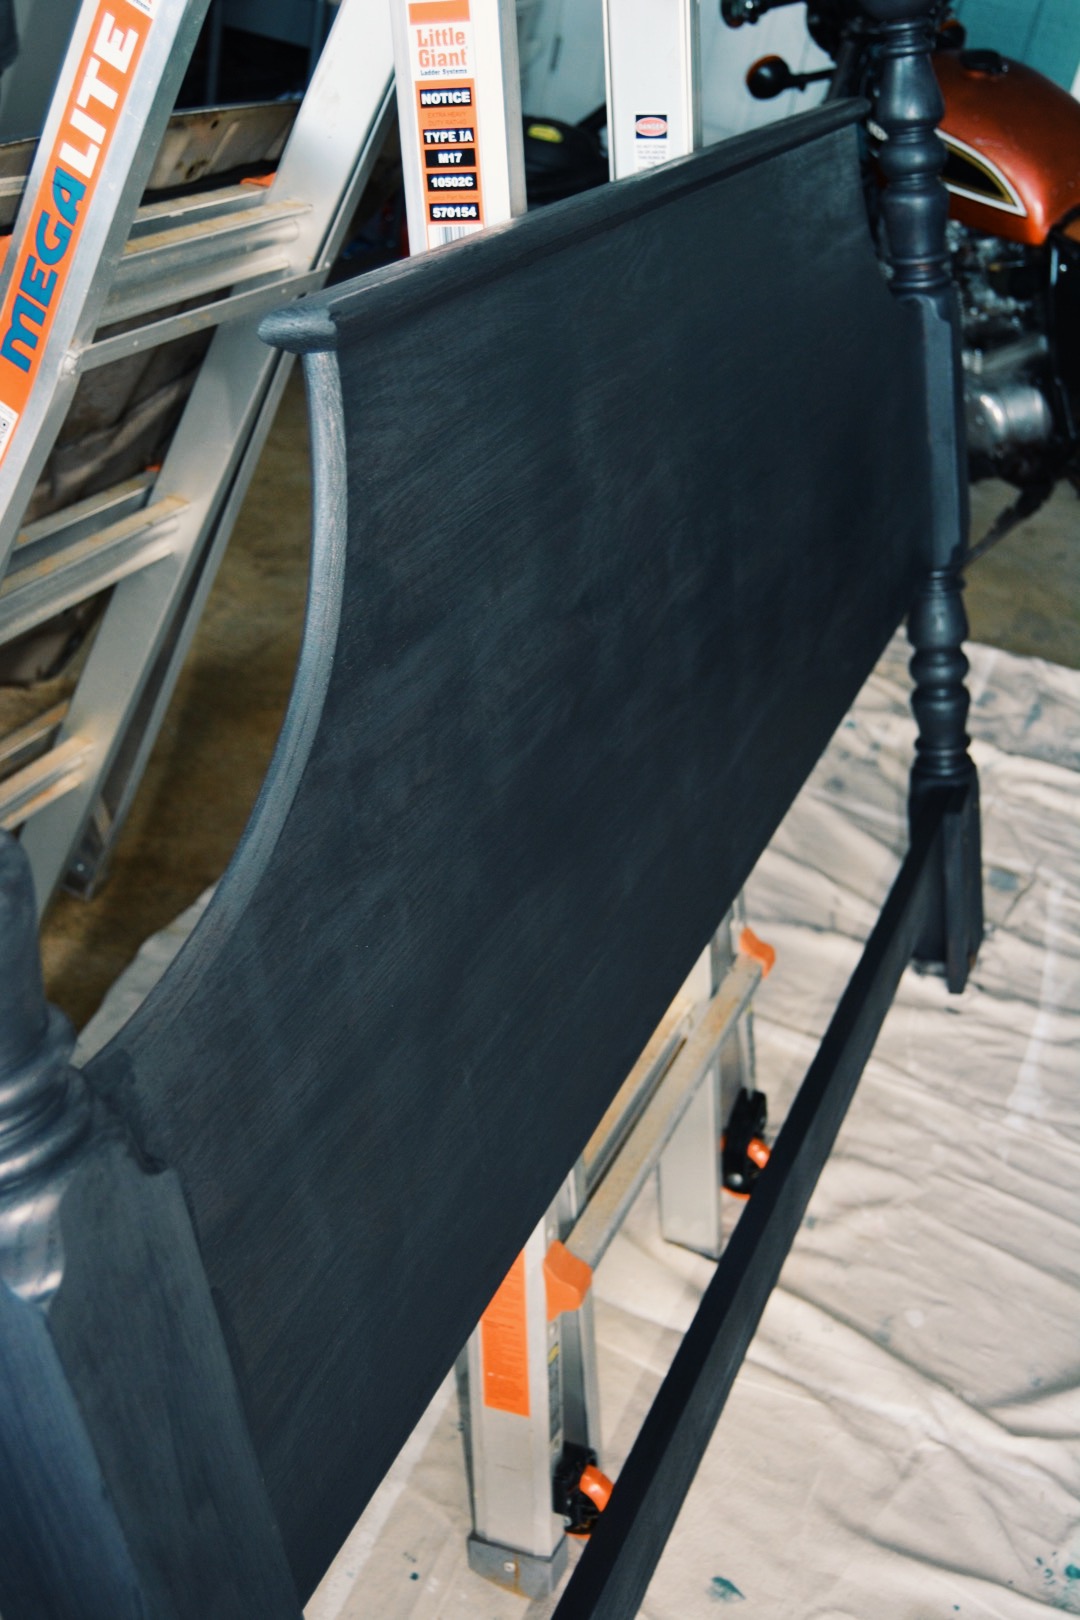
Once your second coat has dried, use the fine grit sandpaper to rub away paint on the desired areas of your head board. Try your best to make sure you only distress the areas that would naturally be distressed. I would suggest distressing areas with raised edges, corners etc.

Once you have distressed your head board to your taste, wipe it down with a cloth and make sure all the dust is removed. You then need to apply your clear wax. I used left over Valspar sealing wax in a clear satin acrylic from an old project. Make sure you work in sections, as you may pull off some of the paint when wiping off the excess if you wait too long. Apply the wax in small sections and remove the excess with a cloth after letting it sit for a minute or two. Let the wax dry and reapply another if you wish.
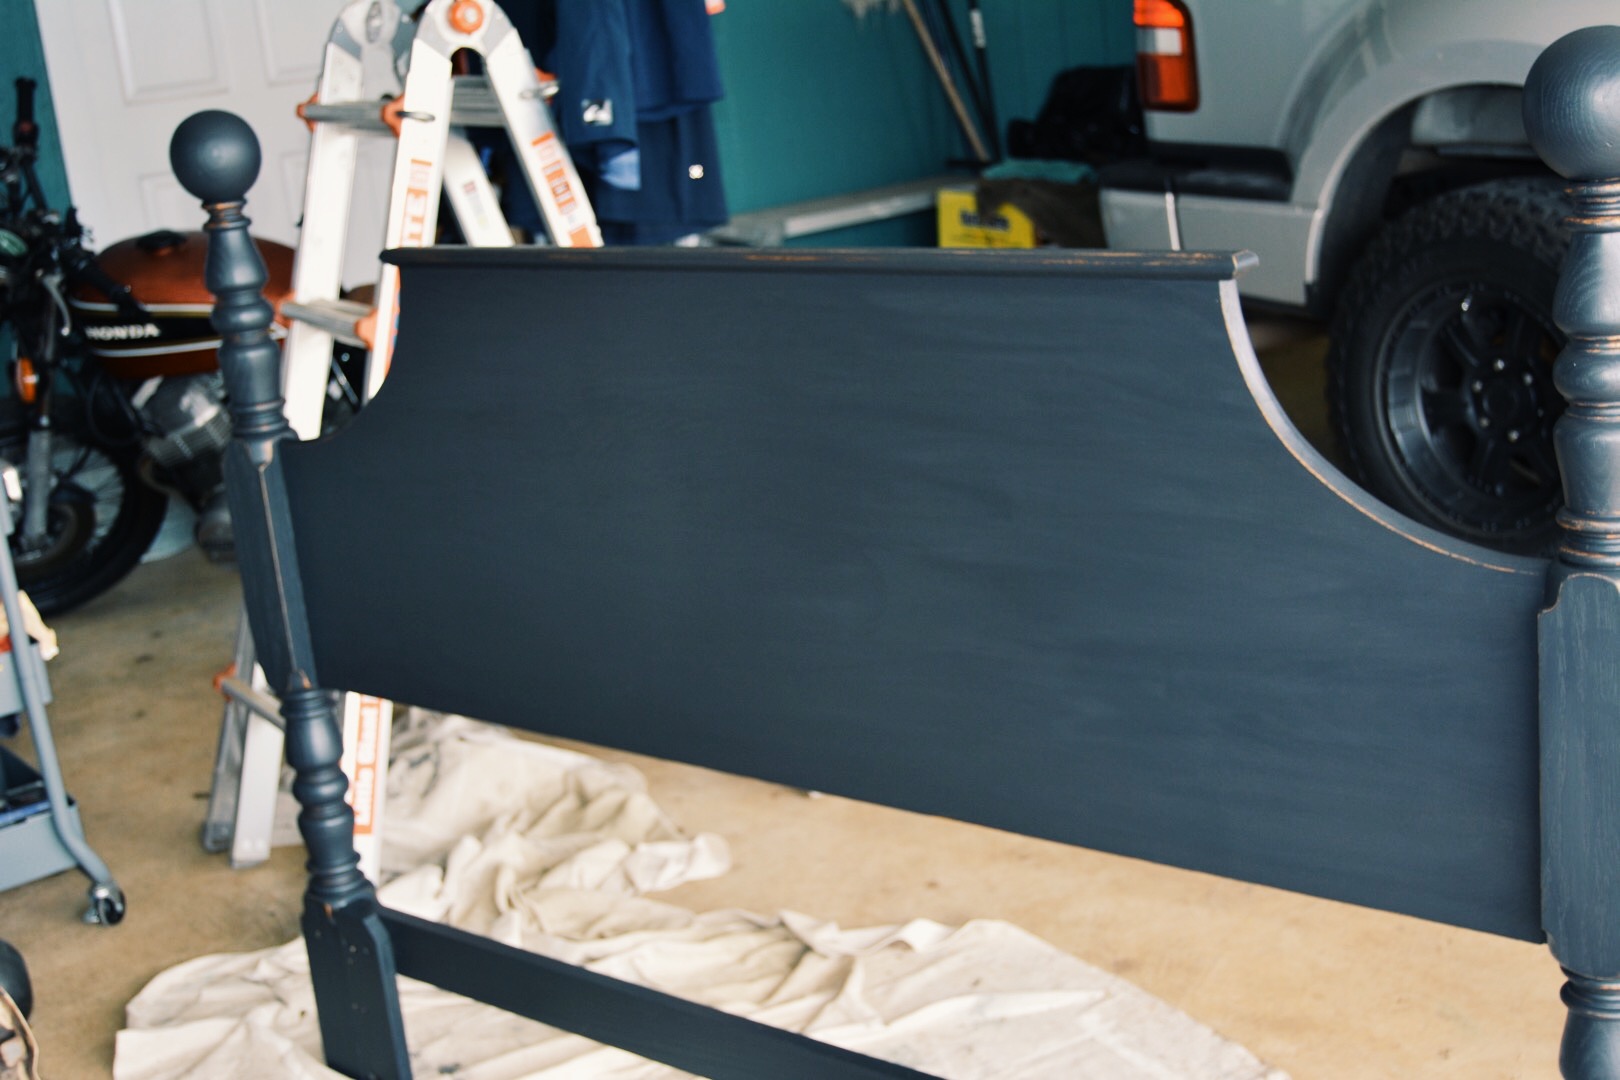
Once you let your last coat of wax dry you are ready to go and you have a beautifully distressed black head board. Hope you love your revamped bed as much as I do.
